
Ooh…by the way, Happy World Photography Day!
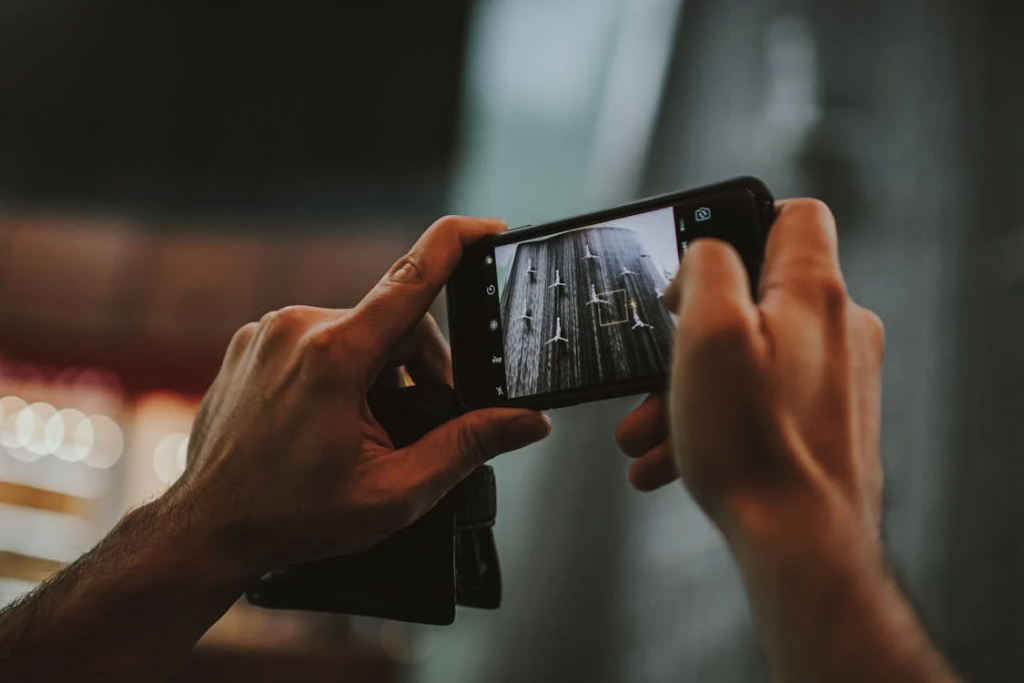
Yes, today is the day to stop worrying and start clicking great snaps with your phone. No fancy camera nor costly courses. Just a few simple tips to get you started and perfect mobile photography at your own pace. Perfect for celebrating World Photography Day 2025’s theme: “My Favourite Photo.”
Essential Phone Photography Tips
1. Golden Hour? Learn and Practice First

Natural light is your best friend in phone photography. The “golden hour” (one hour after sunrise and before sunset) provides warm, soft lighting that flatters subjects and creates stunning backgrounds. Avoid harsh midday sun that creates unflattering shadows. On overcast days (quite common in the UK!), clouds act as a natural softbox, providing even, diffused lighting perfect for portraits and close-ups.
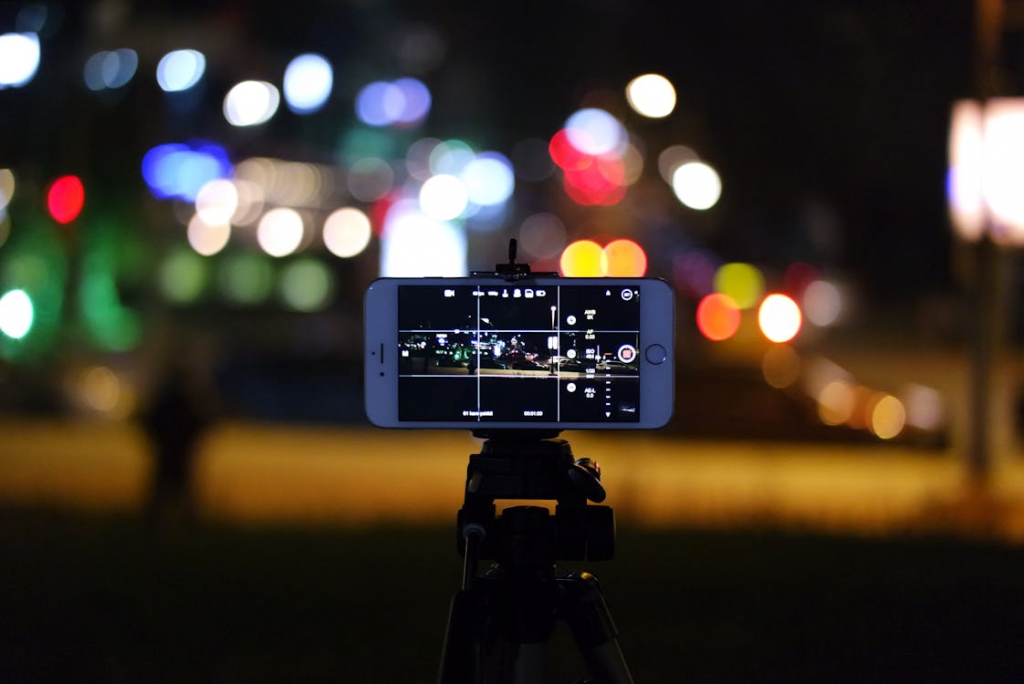
2. Use the Rule of Thirds Grid

Enable gridlines in your camera settings (available on both Android and iPhone). This divides your screen into nine equal sections. Place important subjects along these lines or at their intersections rather than centring everything. This creates more visually interesting and balanced compositions that naturally draw the viewer’s eye.
3. Get Closer to Your Subject

Most beginner photographers stay too far from their subjects. Don’t rely on digital zoom, which reduces image quality. Instead, physically move closer or use your phone’s ultra-wide lens if available. Close-up shots reveal details, textures, and emotions that wide shots often miss. This technique works especially well for portraits, food photography, and detail shots.
4. Hold Your Phone Steady
Camera shake is one of the biggest culprits behind blurry photos. Hold your phone with both hands, keep your elbows close to your body for stability, and gently tap the shutter button rather than jabbing it. For extra stability, lean against a wall or rest your phone on a stable surface. Consider using your phone’s timer function to eliminate movement from pressing the shutter.
5. Experiment with Different Angles

Most photos are taken from eye level, making them predictable and boring. Try shooting from low angles (getting down on the ground), high angles (holding your phone above your head), or side angles. Each perspective tells a different story and can transform an ordinary subject into something extraordinary.
6. Focus and Exposure Control
Tap on your subject on the screen to set focus and exposure. On most phones, you can then drag up or down to adjust brightness manually. This ensures your main subject is sharp and properly exposed, even in challenging lighting conditions. Don’t let your phone’s auto settings make all the decisions.
7. Utilise Portrait Mode Effectively
Portrait mode (available on most modern smartphones) creates professional-looking background blur (bokeh). It works best with clear separation between subject and background, good lighting, and when you’re 2-8 feet from your subject. Whilst designed for people, it also works well with pets, flowers, and objects.
8. Avoid Digital Zoom
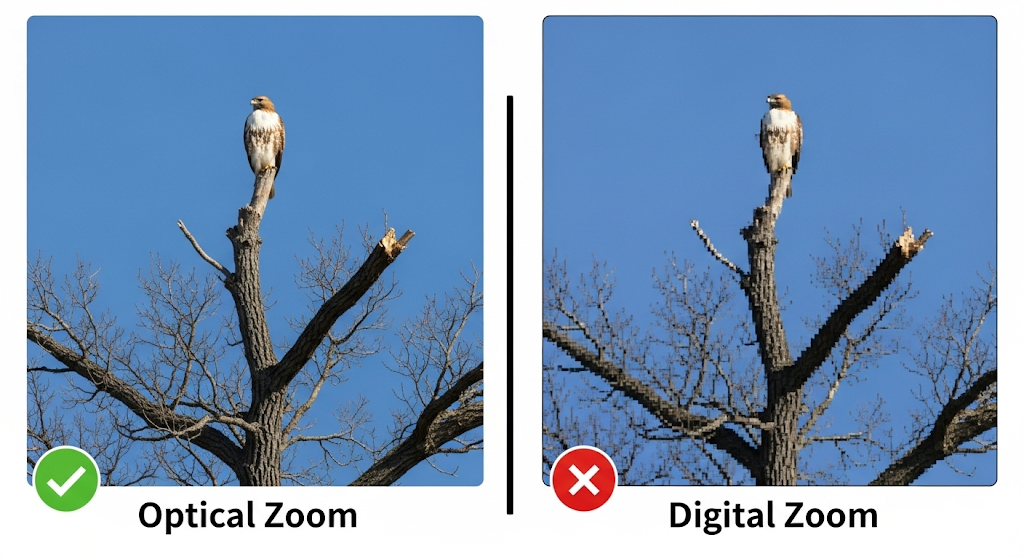
Digital zoom crops and enlarges the image, resulting in pixelated, low-quality photos. Instead of zooming, move closer to your subject or use optical zoom lenses if your phone has them (telephoto, ultra-wide). If you must crop, do it during editing when you have more control over the final result.
9. Shoot in Good Resolution
Always shoot in your phone’s highest resolution setting. Whilst these files are larger, they give you more flexibility when editing and printing. You can always compress photos later, but you can’t add detail that wasn’t captured originally. High-resolution photos also look better when shared on social media or printed.
10. Use HDR (High Dynamic Range) Wisely
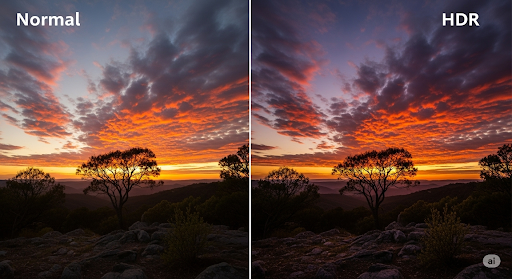
HDR mode takes multiple exposures and combines them to capture detail in both shadows and highlights. It’s excellent for landscape photography, backlit subjects, and scenes with extreme contrast. However, HDR can make moving subjects appear ghostly and may over-process some photos, so use it selectively.
11. Pay Attention to Background
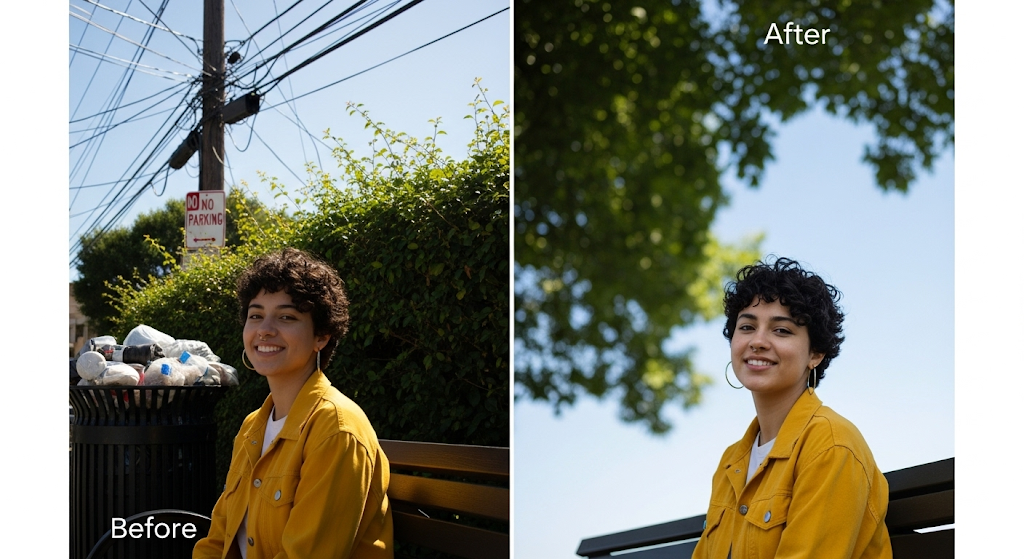
Before taking a photo, scan the entire frame for distracting elements like telephone poles “growing” from someone’s head, cluttered backgrounds, or unwanted objects. A clean, simple background makes your subject stand out. Sometimes moving a few steps to the left or right completely changes the background composition.
12. Learn Basic Editing Skills
Shooting is only half the process. Learn to use your phone’s built-in editing tools or apps like Snapseed, VSCO, or Lightroom Mobile. Basic adjustments like exposure, contrast, highlights, and shadows can dramatically improve your photos. Start with subtle adjustments – over-editing is obvious and unappealing.
13. Take Multiple Shots

Don’t settle for one photo, especially with moving subjects or group shots. Take several shots with slightly different compositions, expressions, or timing. This gives you options when reviewing your photos later and increases your chances of capturing the perfect moment.
14. Practice the Fundamentals Consistently
Great phone photography comes from understanding light, composition, and timing rather than having the latest phone model. Practice these techniques regularly, experiment with different subjects and conditions, and study photos you admire to understand what makes them effective. Consistency in practice leads to consistently better photos.
Follow These Content Creators for Inspiration:
Instagram:
- @rupertporpora
- @andyyongfilms
- @justdodani
- @photo_tvoritel
- @iphone_photography_school
- @camera.tips_
- @mobiscrub
- Monsieur Camera
YouTube:
- Peter McKinnon – Photography tutorials with mobile-friendly techniques
- Mango Street – Beginner-friendly photography challenges and tips
- Sean Tucker – Thoughtful photography education and philosophy
- Explique Moi Encore – Photo and video tutorials for enthusiasts
- Oleksii Melnyk – Creative tips for mobile photo and video
- Drex Lee – Simple tips for filming videos with smartphones
Frequently Asked Questions
Which phone camera is better for beginners – Android or iPhone?
Both Android and iPhone cameras excel for beginners. iPhones offer consistent processing and intuitive controls, whilst Android phones provide more manual control options and varied price points. Focus on learning fundamentals rather than obsessing over specs.
How do I take sharp photos with my phone?
Ensure adequate lighting, hold your phone steady with both hands, tap to focus on your subject, and avoid digital zoom. Clean your lens regularly and use burst mode for moving subjects.
What’s the best time of day for phone photography?
Golden hour (first hour after sunrise, last hour before sunset) provides the most flattering natural light. Overcast days offer excellent even lighting for portraits and close-ups – perfect for the UK’s changeable weather!
Should I use flash on my phone camera?
Avoid built-in flash when possible as it creates harsh, unflattering light. Instead, find natural light sources or use your phone’s night mode in low-light situations.
How can I make my phone photos look professional?
Focus on good lighting, clean compositions, steady hands, and basic editing. Professional-looking photos come from technique and practice, not expensive equipment.
What camera app should I use besides the default one?
For beginners, stick with your phone’s default camera app first. Once comfortable, try Camera+ (iOS), Open Camera (Android), or Adobe Lightroom Camera for more advanced controls.
How do I take better selfies?
Use the front-facing camera’s portrait mode, find flattering light (avoid overhead lighting), hold the camera slightly above eye level, and focus on your eyes.
What’s the difference between optical and digital zoom?
Optical zoom uses actual lenses to magnify subjects without quality loss. Digital zoom crops and enlarges the image, reducing quality. Always prefer optical zoom when available.
How do I photograph moving subjects?
Use burst mode, track your subject’s movement, anticipate action, and ensure adequate lighting for faster shutter speeds. Focus on the subject’s eyes if photographing people or animals.
Can I print photos taken with my phone?
Absolutely! Modern smartphones capture high-resolution images perfect for printing. Shoot in your phone’s highest quality setting for best print results.
Preserve Your Memories Forever

Your phone photos capture life’s precious moments, but they deserve to exist beyond your camera roll. Transform your favourite smartphone photos into lasting memories with professional printing options.
Create Beautiful Photo Books: Compile your best photos into elegant photo books that tell your story. Perfect for holidays, family milestones, or yearly collections that you’ll treasure forever.
Custom Wall Art: Turn your stunning phone photography into canvas prints, metal prints, or framed art pieces that enhance your home décor whilst showcasing your creative work.
Photo Gifts: Transform your photos into meaningful gifts – from custom mugs and photo calendars to personalised accessories that friends and family will love.
Ready to bring your phone photography to life? Explore professional photo printing services for incredible deals on photo products, browse custom wall art options to showcase your best shots, or create stunning photo books that preserve your memories in beautiful, tangible form.
Your smartphone photos deserve to live beyond the digital world – start creating lasting memories today and celebrate World Photography Day 2025 by sharing your favourite photo!